Learn how to create a free pricing plan so you can give a taste of your content to your clients.
When setting up a free pricing plan, subscribers must sign up to access content. However, you don't have to make each lesson within that plan free.
IN THIS ARTICLE
1. How to create a free Pricing Plan
- From inside your App, go to the In-App Admin View.
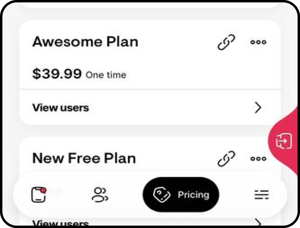
- Go to Pricing.
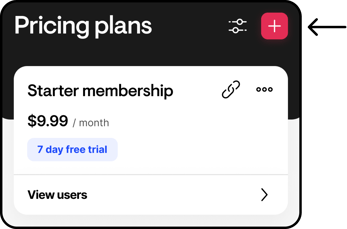
- Tap on the + sign at the top right corner.
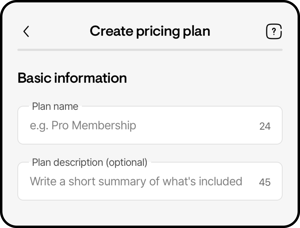
- Enter a name for your Pricing Plan, i.e., Free Access.
- Enter a description for your Pricing Plan.
- Tap on Next.
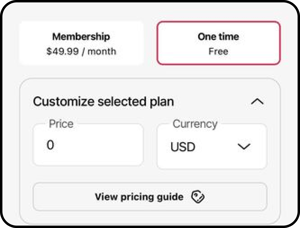
- Select the One-time price option and ensure that the price is 0.
- Tap Next.
- You can connect to Stripe later if you still need to do so. Tap Next.
.png?width=635&height=315&name=Group%2012%20(5).png)
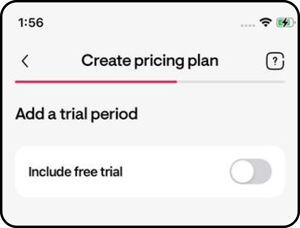
- Leave the free trial off and tap Next.
- Select the Courses, Communities, and all the Products you would like under this Pricing Plan.
- Tap on Create Plan.
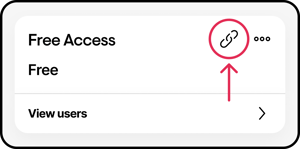
- Once the Plan is created, please copy the link and send it to your clients.
- If you share the checkout link directly with them, they won't see the plan on the Sales Page, but the products will show up on their App once they subscribe.

.png?width=635&height=407&name=Group%2015%20(2).png)