.png?width=185&height=50&name=Full%20Passion.io%20logo%20(white).png)
IN THIS ARTICLE
1.Setting up the trigger: Plan Purchased
2. Adding Delays to Zap
3. Setting up the action: Cancel Order
4. Publish the zap
5. Frequently Asked Questions (FAQs)
Find out more information on controlling the timing of your actions with Delay For by Zapier here.
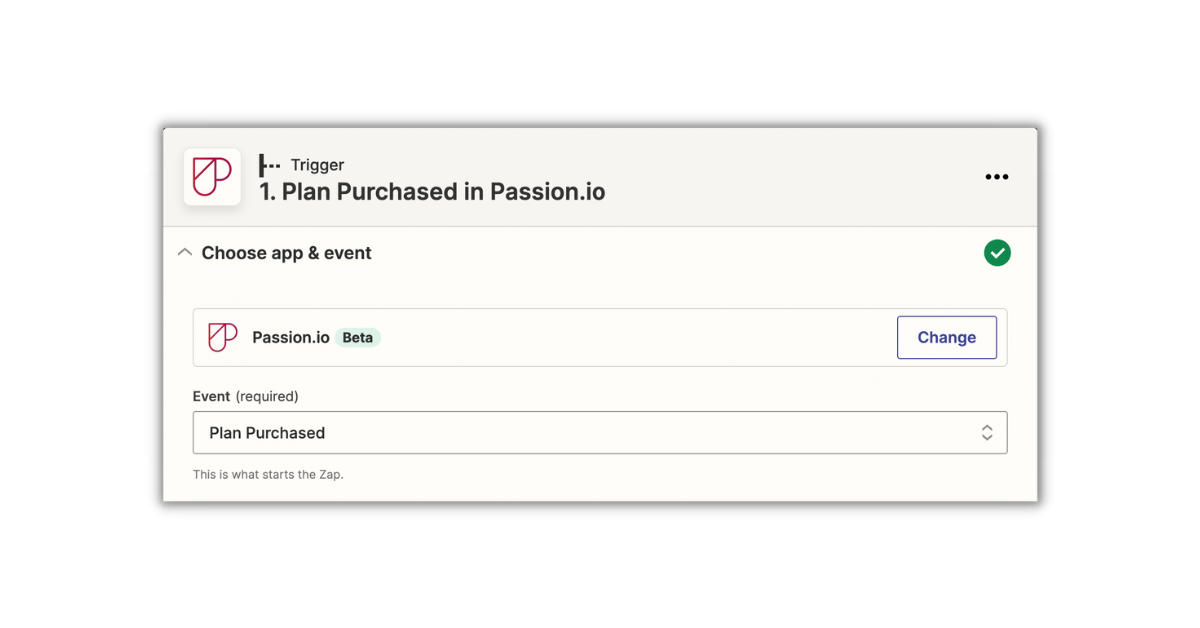
1. Setting up the trigger: Plan Purchased
a. Create a new zap for Passion.io > Choose app & event for Plan Purchased
b. Choose your connected Passion.io account (Please select your Passion.io account, not instructor@passion.io. The image below is only an example.)

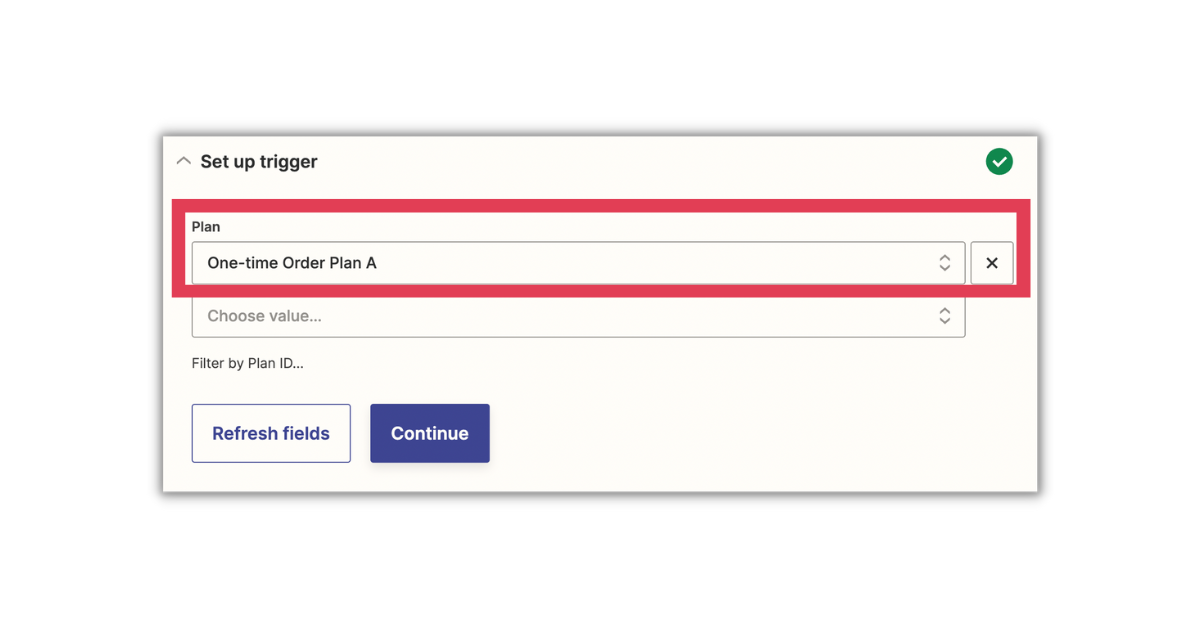
c. Set up the trigger > Choose the plan you want to make available for a limited time
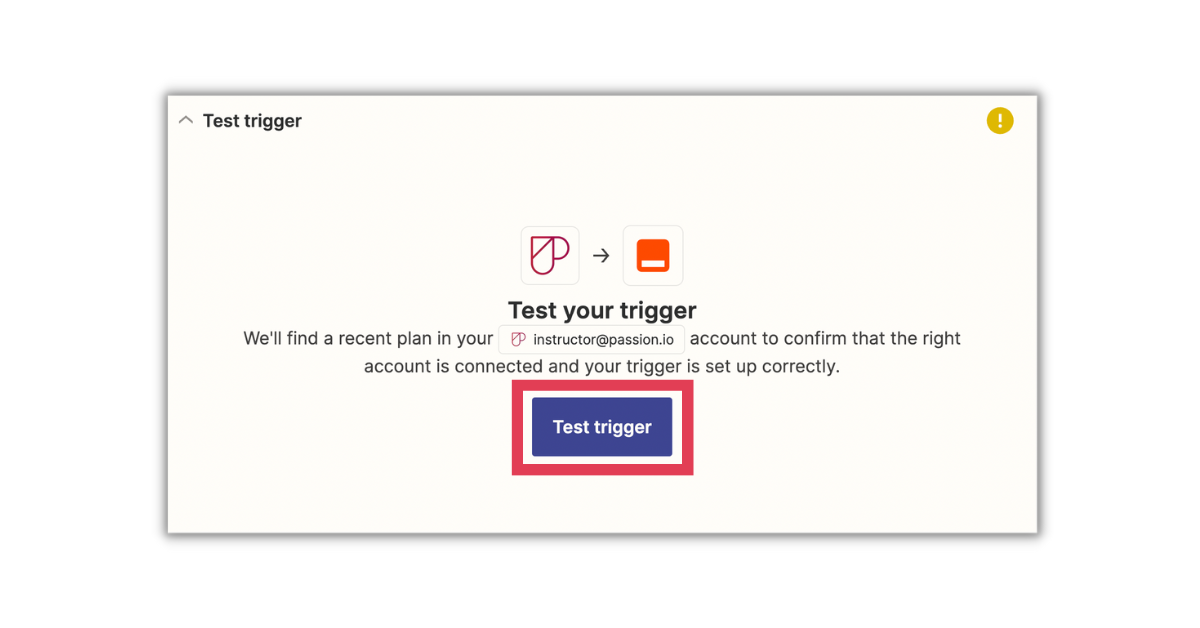
d. Test the trigger.
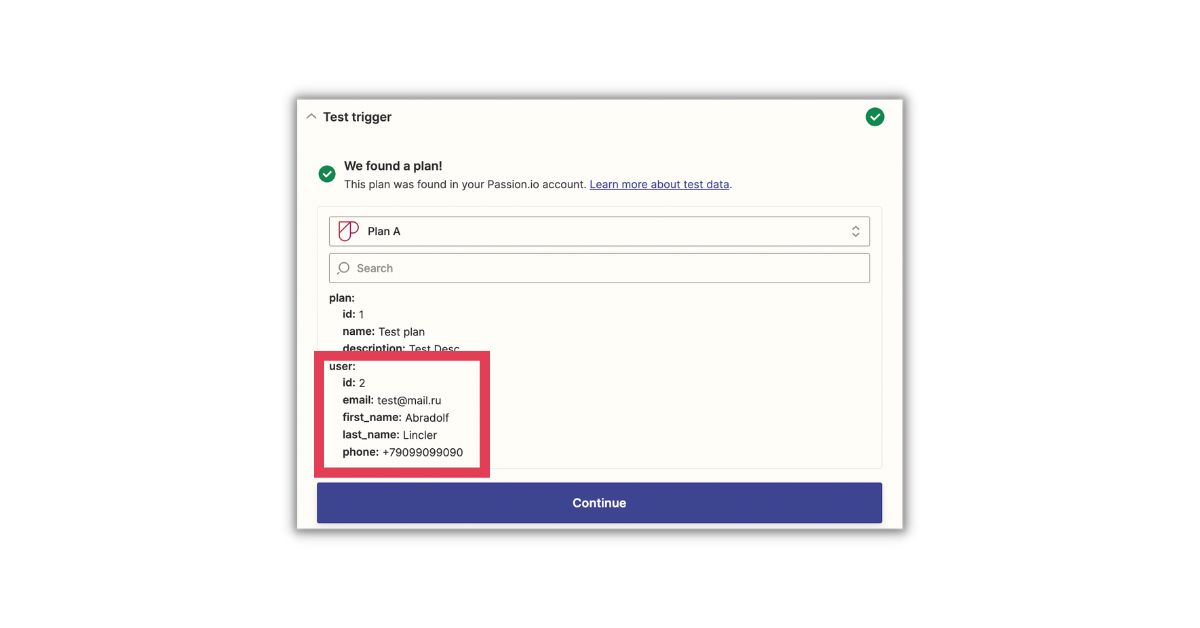
After hitting Test Trigger, this message will appear: (The test email that will appear is test@email.ru)
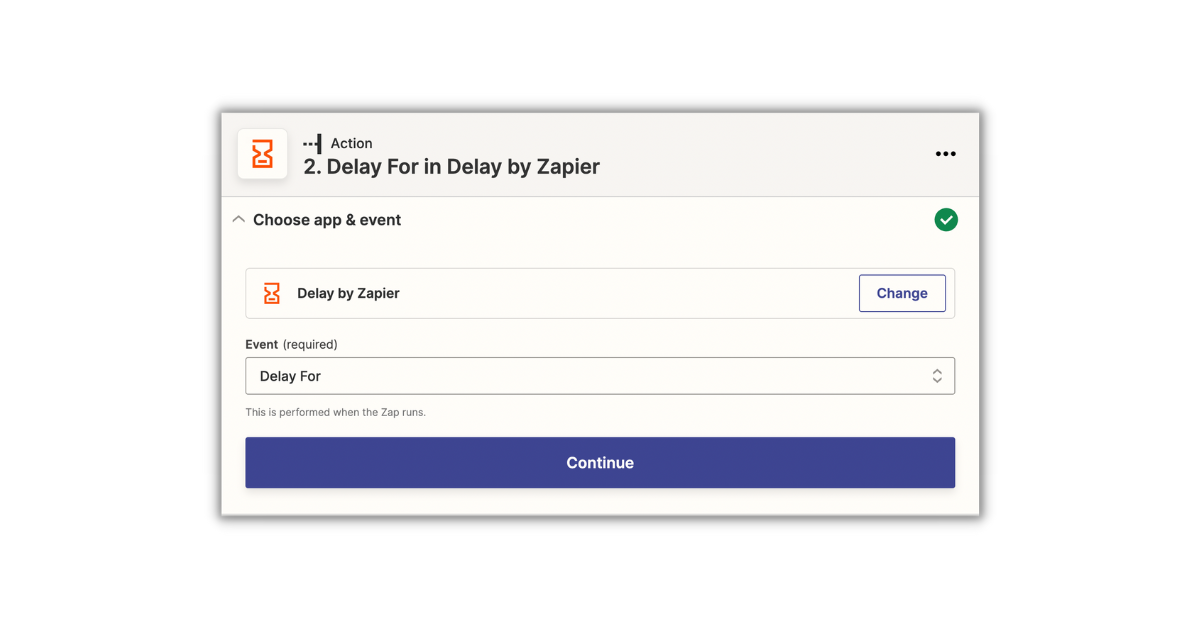
2. Adding Delays to Zap
a. Set up an action and choose Delay by Zapier > Delay For
b. Input the time frame: first the value, then the unit.
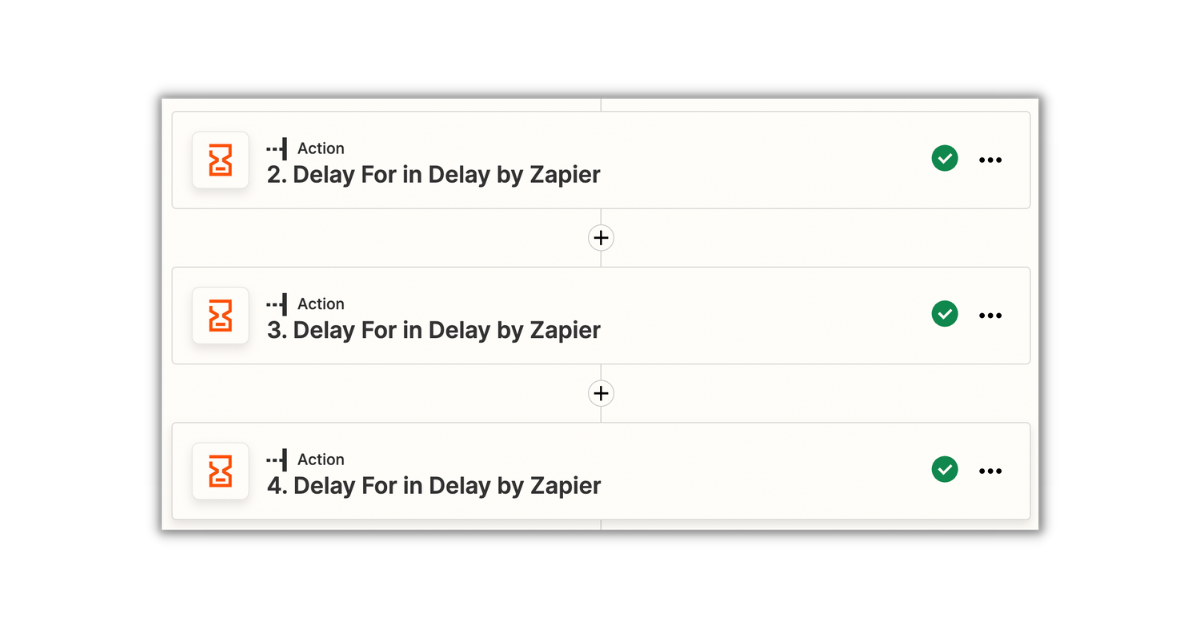
Note: Delay For Zapier does not allow dates more than a month in the future, so you'll have to add multiple delays as a workaround. 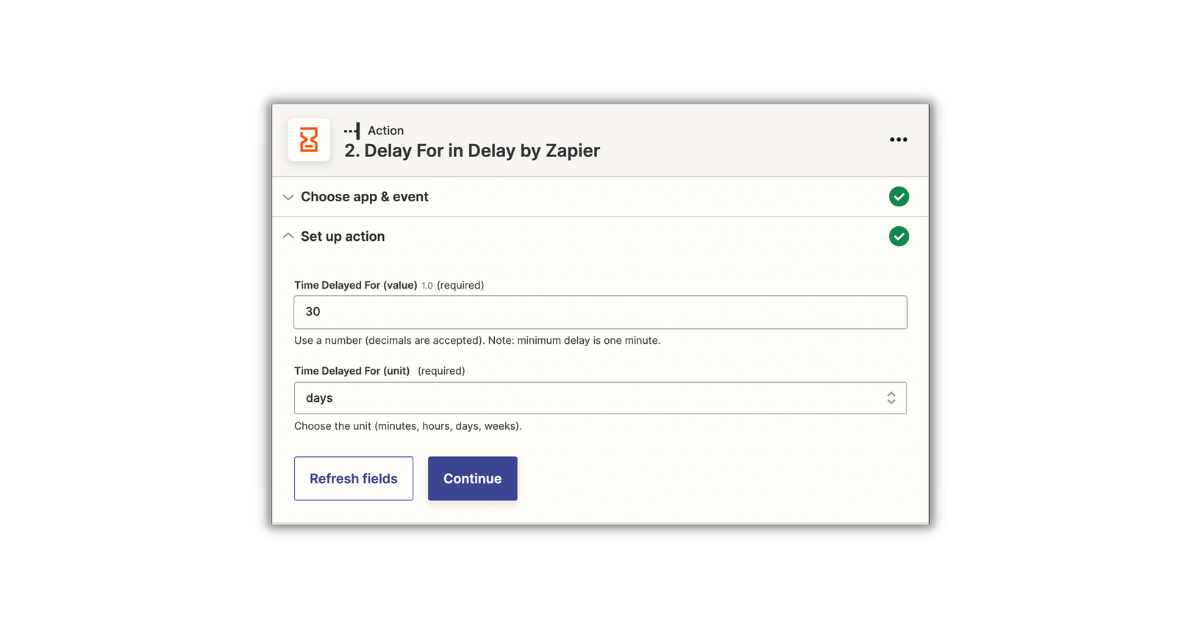
For example, if you want to limit the access to 90 days, then set up 3 x Delays with 30 days as the value and unit.
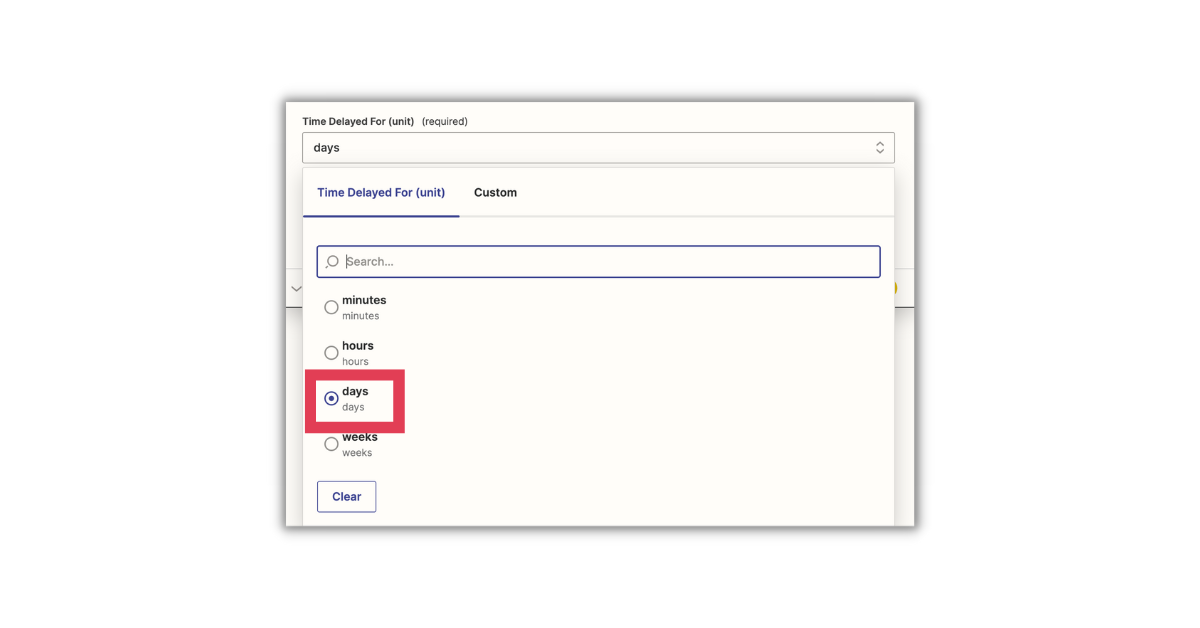
You can select from the following units: minutes, hours, days, and weeks
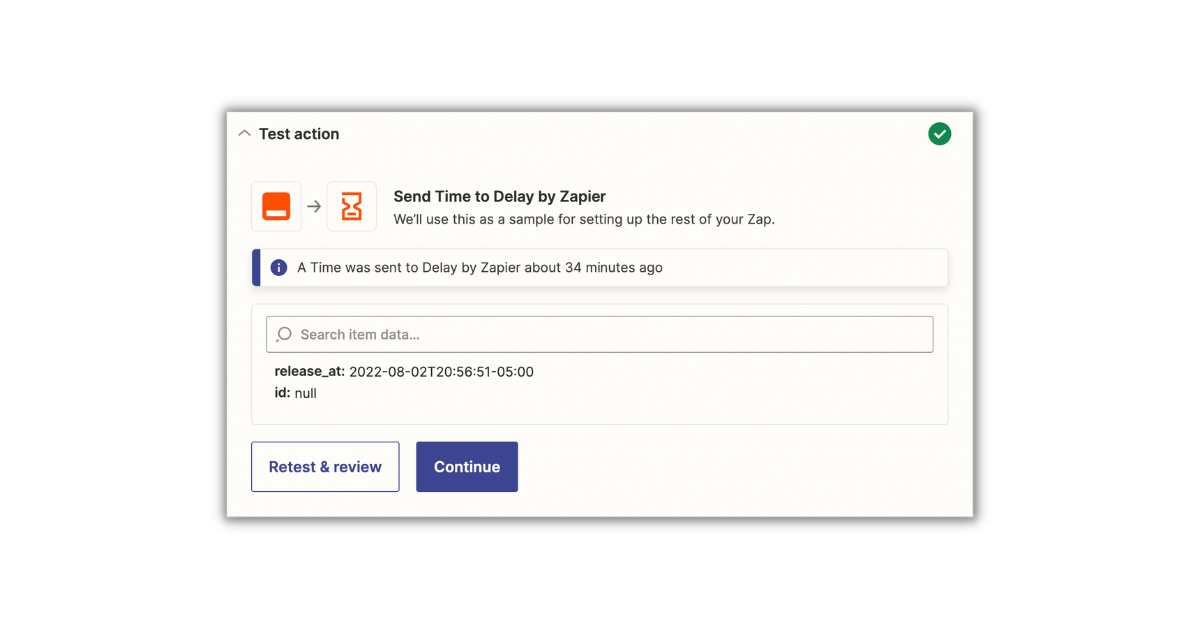
c. Test the action and continue
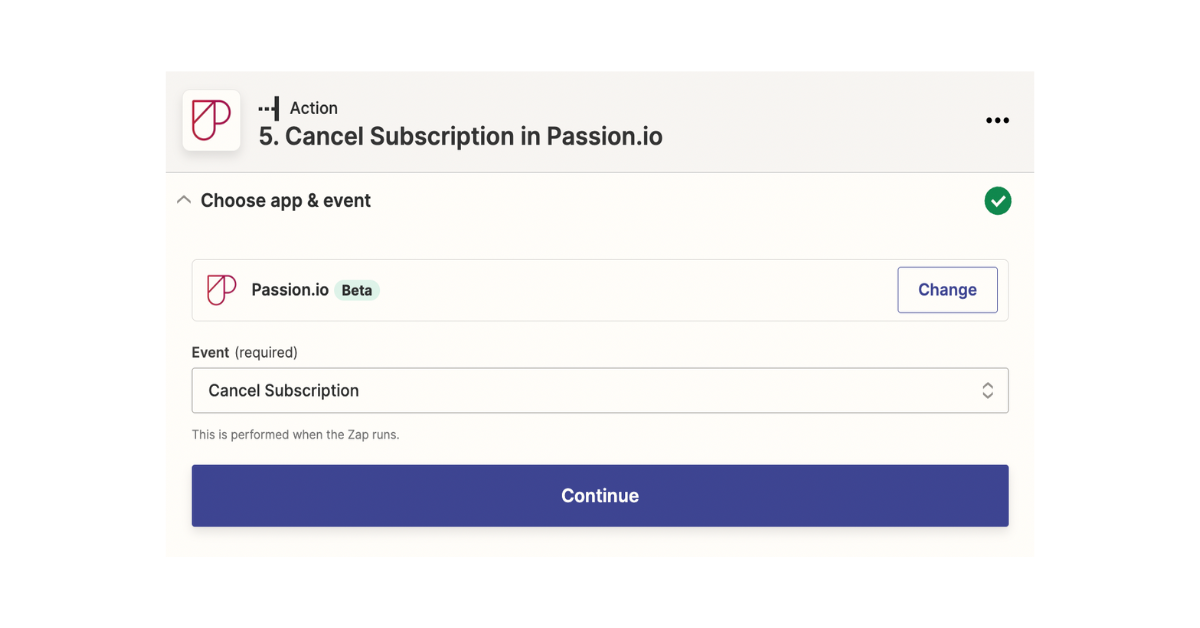
3. Setting up the action: Cancel Order
(This action will cancel the subscription after the time frame you have set.)
a. Set up another action for Passion.io and choose Event: Cancel Subscription
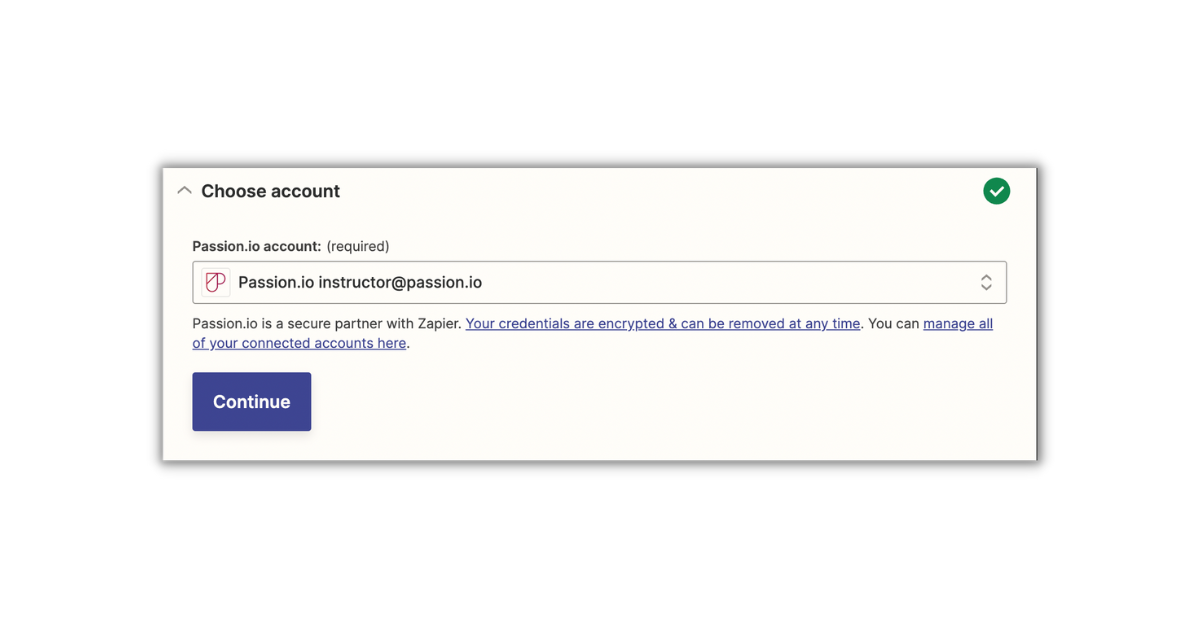
b. Choose your connected Passion.io account (Please select your Passion.io account, not instructor@passion.io. The image below is only an example.)
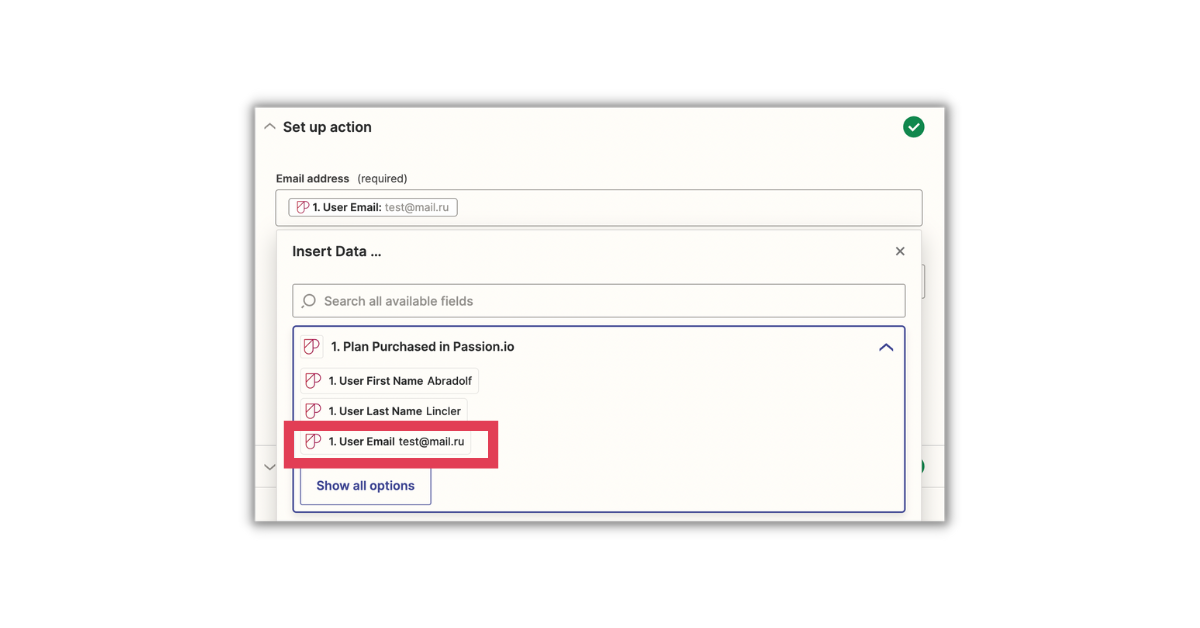
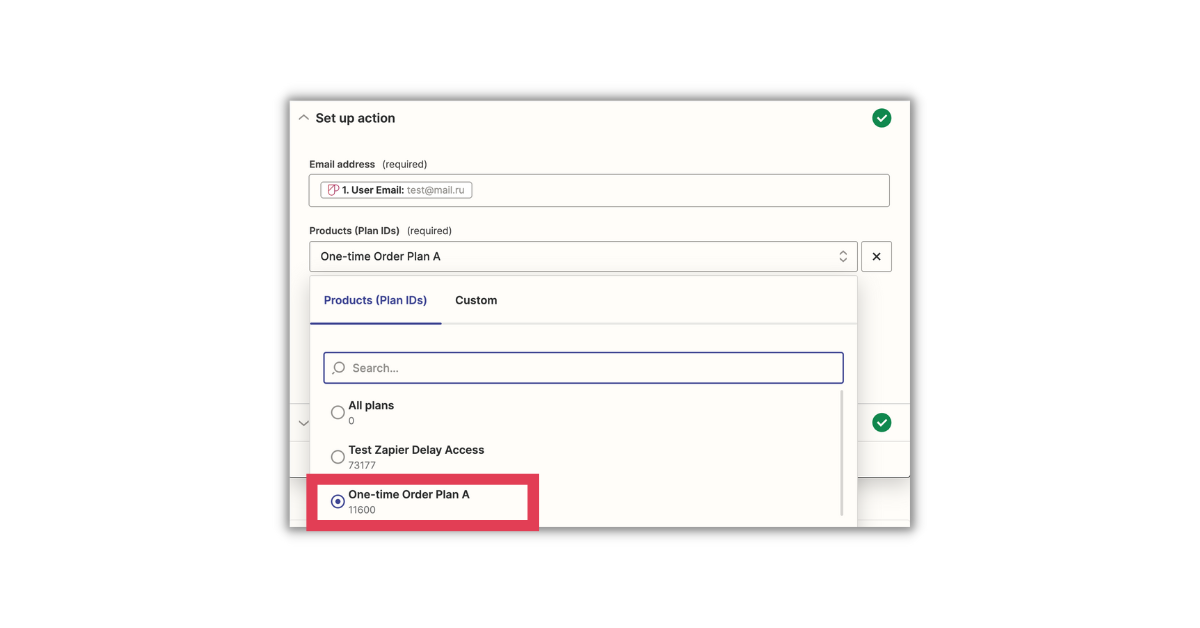
c. Set up the action and choose test@mail.ru from the dropdown menu of the Email address field.
d. Select the plan that will be canceled once the action takes place.
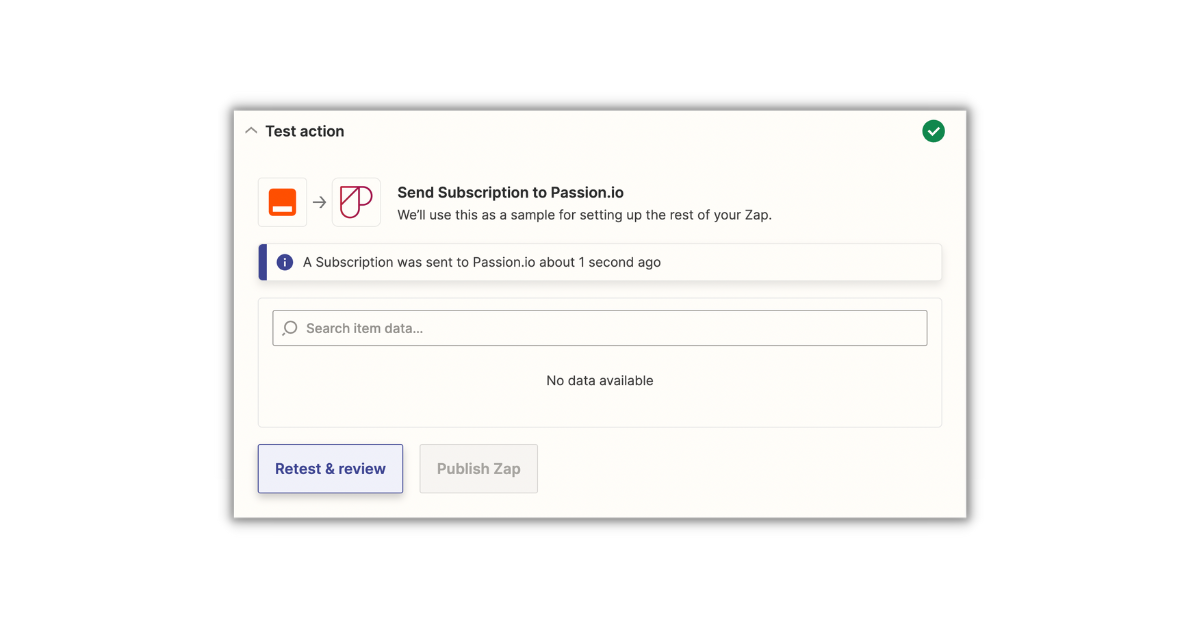
e. Test the action
4. Publish the zap
Check the trigger and actions. If they are set up correctly, each should have a green check mark. Then, publish the zap.

We are not directly partnered with Zapier. The instructions provided are based on a workflow we have tried and tested. For other workflow concerns, please check out Zapier's Help Center.
5. Frequently Asked Questions (FAQs)
1. How do I connect Passion.io with Zapier
Please check out this article: How to use Zapier with Passion.io
2. I am using external checkout. How do I automate that?
Please follow the instructions on How to connect an external checkout page via Zapier and add another action as might be needed.